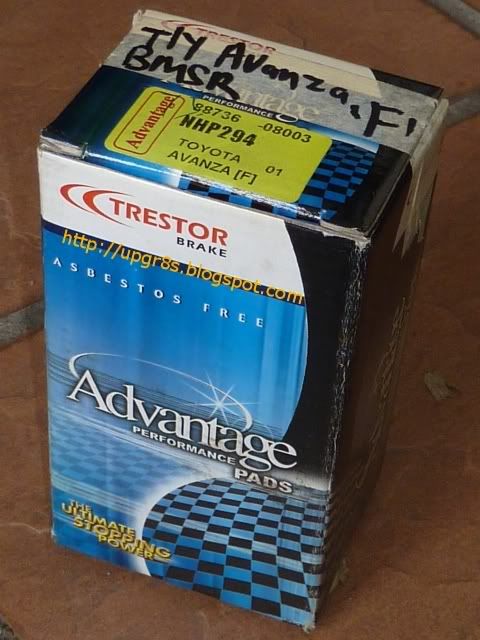
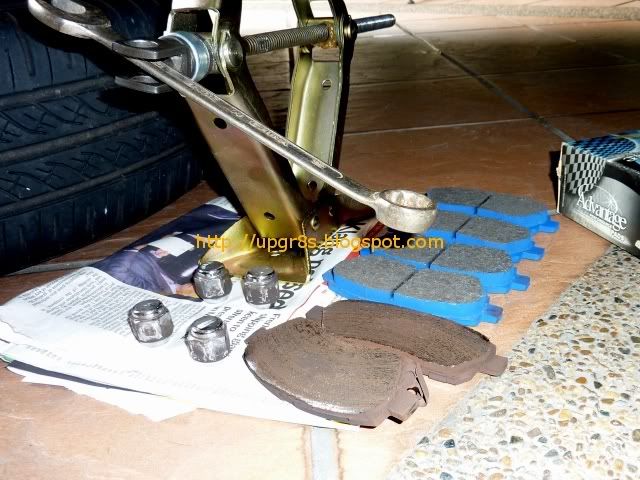
New replacement part chosen this time. RM90/-
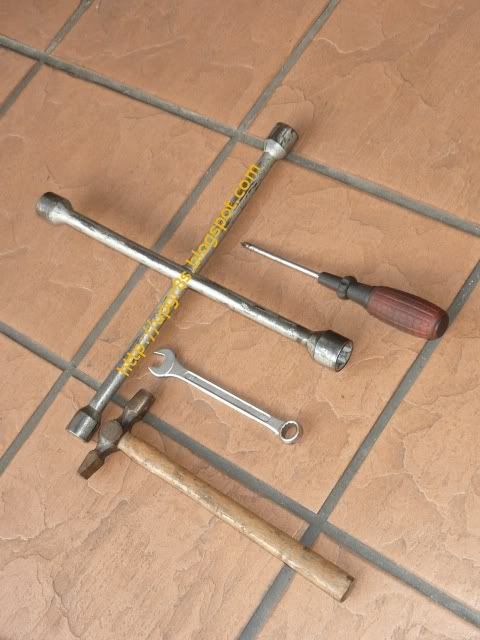
Tools needed, and of course, the OEM jack.
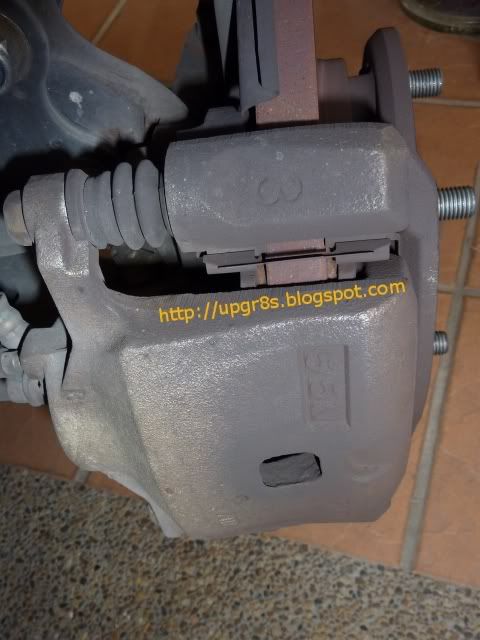
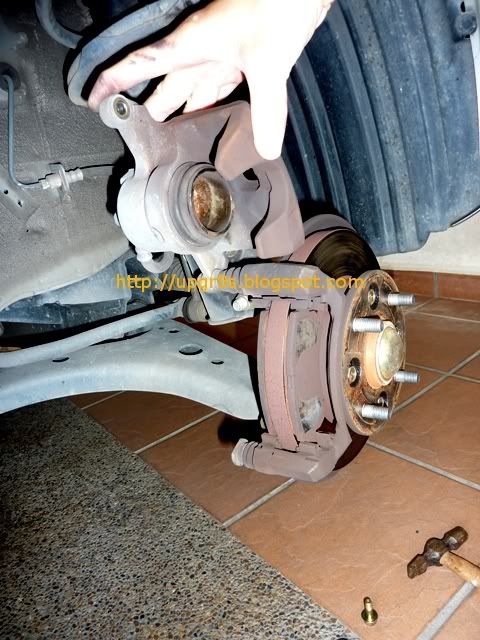
After remove tyre, check out the balance of my front brake pad, no more than 3mm.
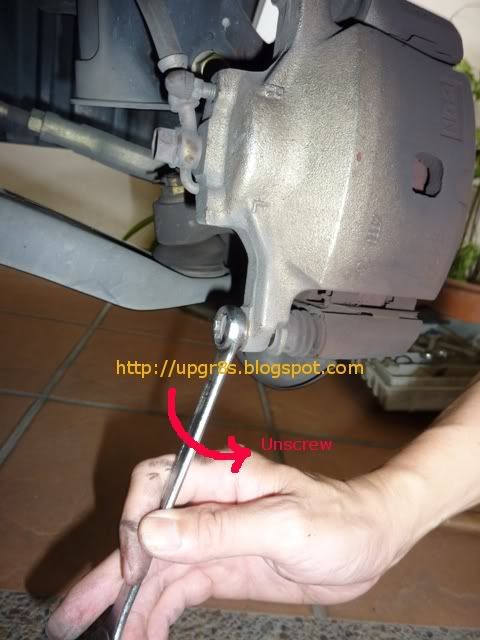
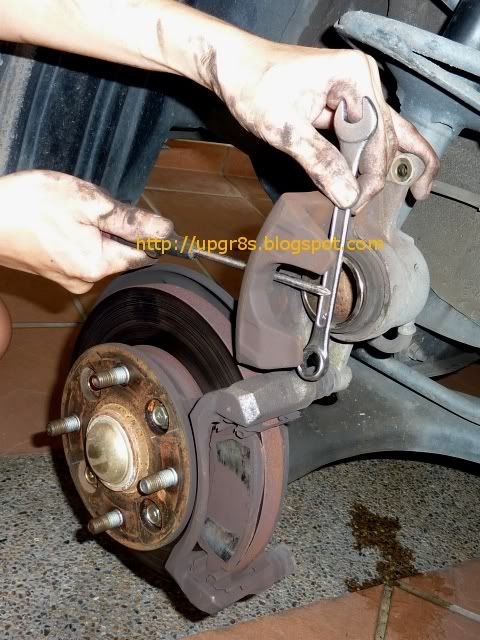
Size 14, anti-clockwise, use the small hammer to whack the wrench a bit. Shouldn't be too difficult. Make sure the wrench is securely mounted to the bolt and not risking damaging the bolt.
Pull out the size 14 bolt and lift the brake caliper up.
Un-slot the brake pad, see how thin is the worn pad compare to the new ones.
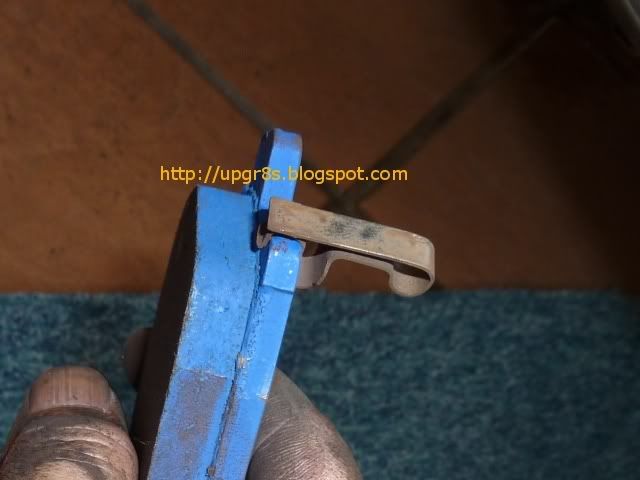
Relocate the attached shim and the "don't-know-what" to the new pads.

This pad wear indicator is too short to be workable. By the time the brake disc rotor scrub the indicator to produce screeching noise, the pad would be have been all gone and we are running on metal-to-metal!!
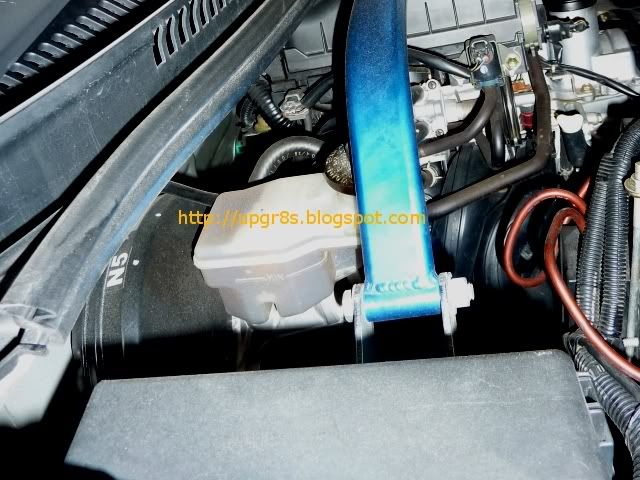
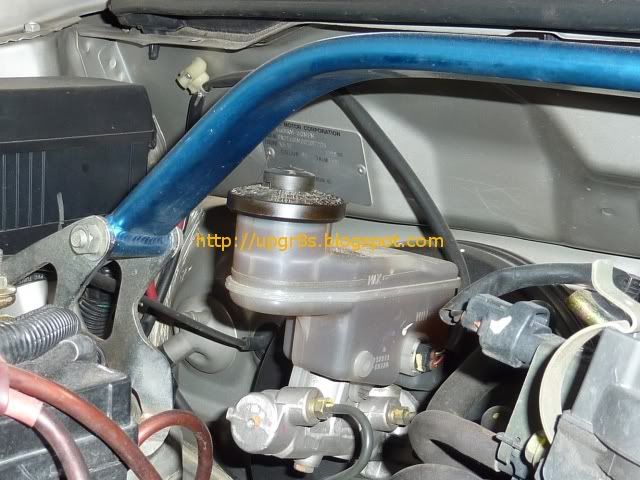
Check the brake fluid level before pushing the brake caliper piston back into its chamber. When we start pushing, brake fluid will be forced back into the brake fluid reservoir. If too full, it will overflow and mess up the engine bay. Bear in mind that this brake fluid is corrosive in nature!! Must be careful. If fluid level too full, need to siphon some out from the reservoir before we continue.
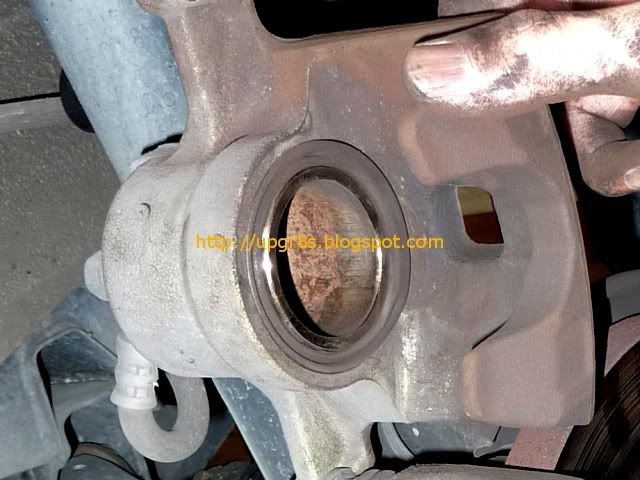
This method of pushing the caliper piston back to its chamber is my latest new discovery, after few other fail attempts. Check out my previous post on brake pad changing back in 2007 and see what a fool I have been. My previous method is very risky to damage the caliper chamber because a slight tilt of the pushing angle will permanently damage the cylinder. The damage can result in the piston coming out in an off tangent angle and cause uneven pad wear.
While forcing the piston in, try to get rid of some brake dust stuck in the rubber sleeve. Something I didn't do in the last change. And of course, monitor the brake fluid reservoir level as well. It's raising..
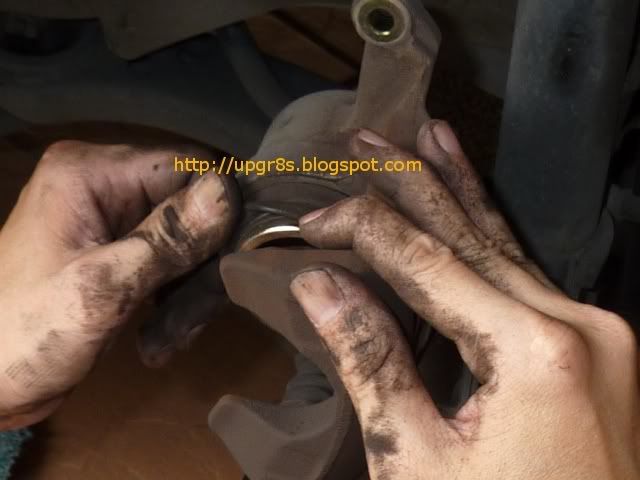
Piston fully recessed into its cylinder. Make sure the loose rubber sleeve is not at the wrong place when lowering the caliper back to its operating position. The rubber sleeve can get trapped in between the piston and brake pad which will potentially puncture the sleeve.
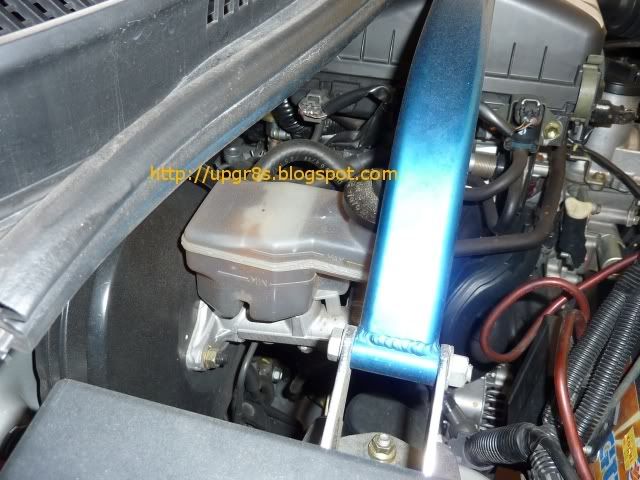
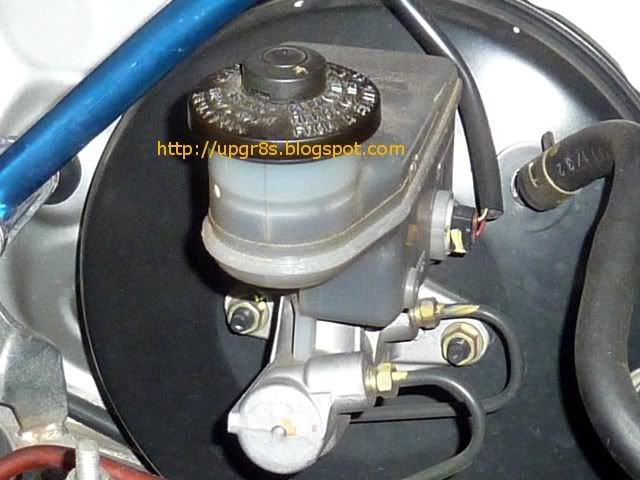
New brake fluid level after one side of the wheel is done.
Now lowering the caliper back to its operating position, with the new pads.

Now move on to the other wheel and after the 2nd wheel, this is the new brake fluid level.
After pumping the brake pedal and driven the Avanza around, this is the latest brake level.
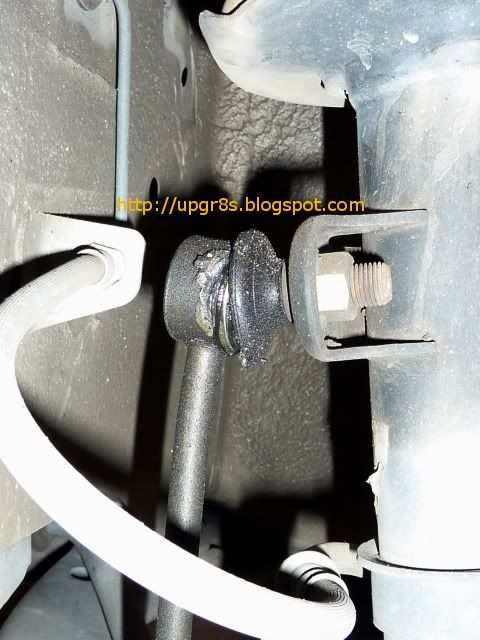
When the wheels are taken out, its the best time to inspect all your ball joints and bushes, they all look good except this!!
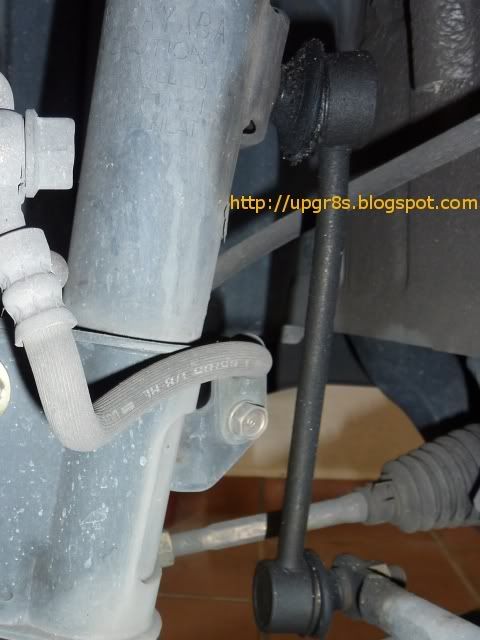
This is the front anti roll bar link. See the damage rubber sleeve. The trapped factory filled grease has seen day light and is all over the place.
No comments:
Post a Comment